
Shauna Ahern, the Gluten-Free Girl, created an event and declared July 5th would be
Pie Party Day! Make a pie, take a photo and post it on
facebook. If you have a blog, post the recipe too. Word spread fast and many people are joining in.
I've been wheat-free since 2000 and gluten-free since 2009. I've been making gluten-free pie since 2000. I LOVE pie and cannot imagine life without pie! It's a favorite dessert in our home and one we enjoy sharing with family and friends. And, it's even more joyful when people love the pies I make, even though they don't have to eat gluten-free. Best compliment a girl can get: "Wow! This is better than a regular pie crust." Awwwwwww, thanks!
Gluten-free crusts can be fussy to deal with and most recipes call for you to refrigerate the dough (even the recipe I use), but I don't chill mine anymore. If the weather is especially warm, I just don't thaw the "butter" stick I'm using - which is Earth Balance in my kitchen. If I used all Spectrum shortening (they offer "butter" flavor now) - it might require a short chill.
Oh how I love making gluten-free pies!
Sunday was our youngest son's 19th birthday and he requested strawberry rhubarb pie. One of his favorites! This is a frustrating and delicious pie. With gluten-free, juicy pies can be challenging in getting the fruit filling to set. I've had great "failures" with this pie and am still tweaking the recipe. This weekend's version set quite well and I'm pleased.

The traditional way of making pie filling - fruit and add the sugar and some type of "flour". Mix and put in the pie crust... For me, this hasn't worked so well for my strawberry rhubarb pie in the past.

Last time I made this recipe, it overflowed and was super juicy...

... and I mean SUPER JUICY. Ugh. So, I've tweaked the recipe.
My gluten-free, dairy-free pie crust recipe is here.
For this recipe, you will want to have your crust ready for the filling, cover with top crust and pop into oven - fairly quickly. Keep both pie dough layers covered with cellophane, so they don't dry out while you prepare the filling. You'll want the bottom crust to be in the pie pan (I use a standard glass pie plate).
4 cups rhubarb, diced* (frozen, thawed)
2 cups strawberries, sliced (fresh)
1 1/3 cups sugar (I use organic cane sugar)
1/3-1/2 cup tapioca flour (or 1/4 cup cornstarch)
1 tsp lemon juice (optional)
1/4 tsp cinnamon
approx 1/3 cup liquid from thawed rhubarb
* We grow our own rhubarb, blanch it and freeze it in 4 cup measures - ready for pie. I thawed the rhubarb in a bowl (and used the liquid in preparing the filling).
FILLING:Preheat oven to 425 degrees.
After draining rhubarb liquid into a liquid measuring cup, combine rhubarb and strawberries in a bowl.

Combine sugar, tapioca starch/flour (or cornstarch, if you prefer), cinnamon and rhubarb liquid in a small saucepan. Over medium to medium high heat, stirring constantly, heat until thickened or if it begins to boil; remove from heat. If thickened, add to fruit mixture and mix well. If it doesn't thicken well, add additional tapioca flour and whisk in. Stir and cool slightly. Add to fruit mixture and mix well.
Note: When I made pie this weekend, I started with 1/3 cup tapioca flour, but it didn't thicken as I would have liked it too. Ending up whisking in more tapioca flour (bringing it to the 1/2 cup measure). Addition was done off the stove - no additional heating.

If the cooked filling thickened well, you'll need to work fairly quickly - because you're mixing it with the fruits and pouring into the bottom crust, drizzle lemon juice over the filling (if adding), covering with the top crust, fluting the edges and adding steam vents plus getting it into the oven to bake. The warm liquid will begin to interact with the pie dough and you don't want it to do so for very long before the actual baking process begins.
If you're new to this, I would advise you to allow the liquid to cool a bit so you don't feel stressed. When I made pie this weekend, the liquid was cooled a bit as it hadn't gotten as thick as I desired; giving me time to work with putting the whole pie together.
Once it's all together, bake at 425 for 15 minutes, reduce heat to 350 degrees and bake an additional 25 minutes or until crust is golden brown.

Grab your favorite ice cream, add a scoop and ENJOY!
Gluten-free recipes shared by others:

 Loved this espalier apple fence in Ballard
 Nothing says "garden" like a picket fence...
 Charming chicken coop
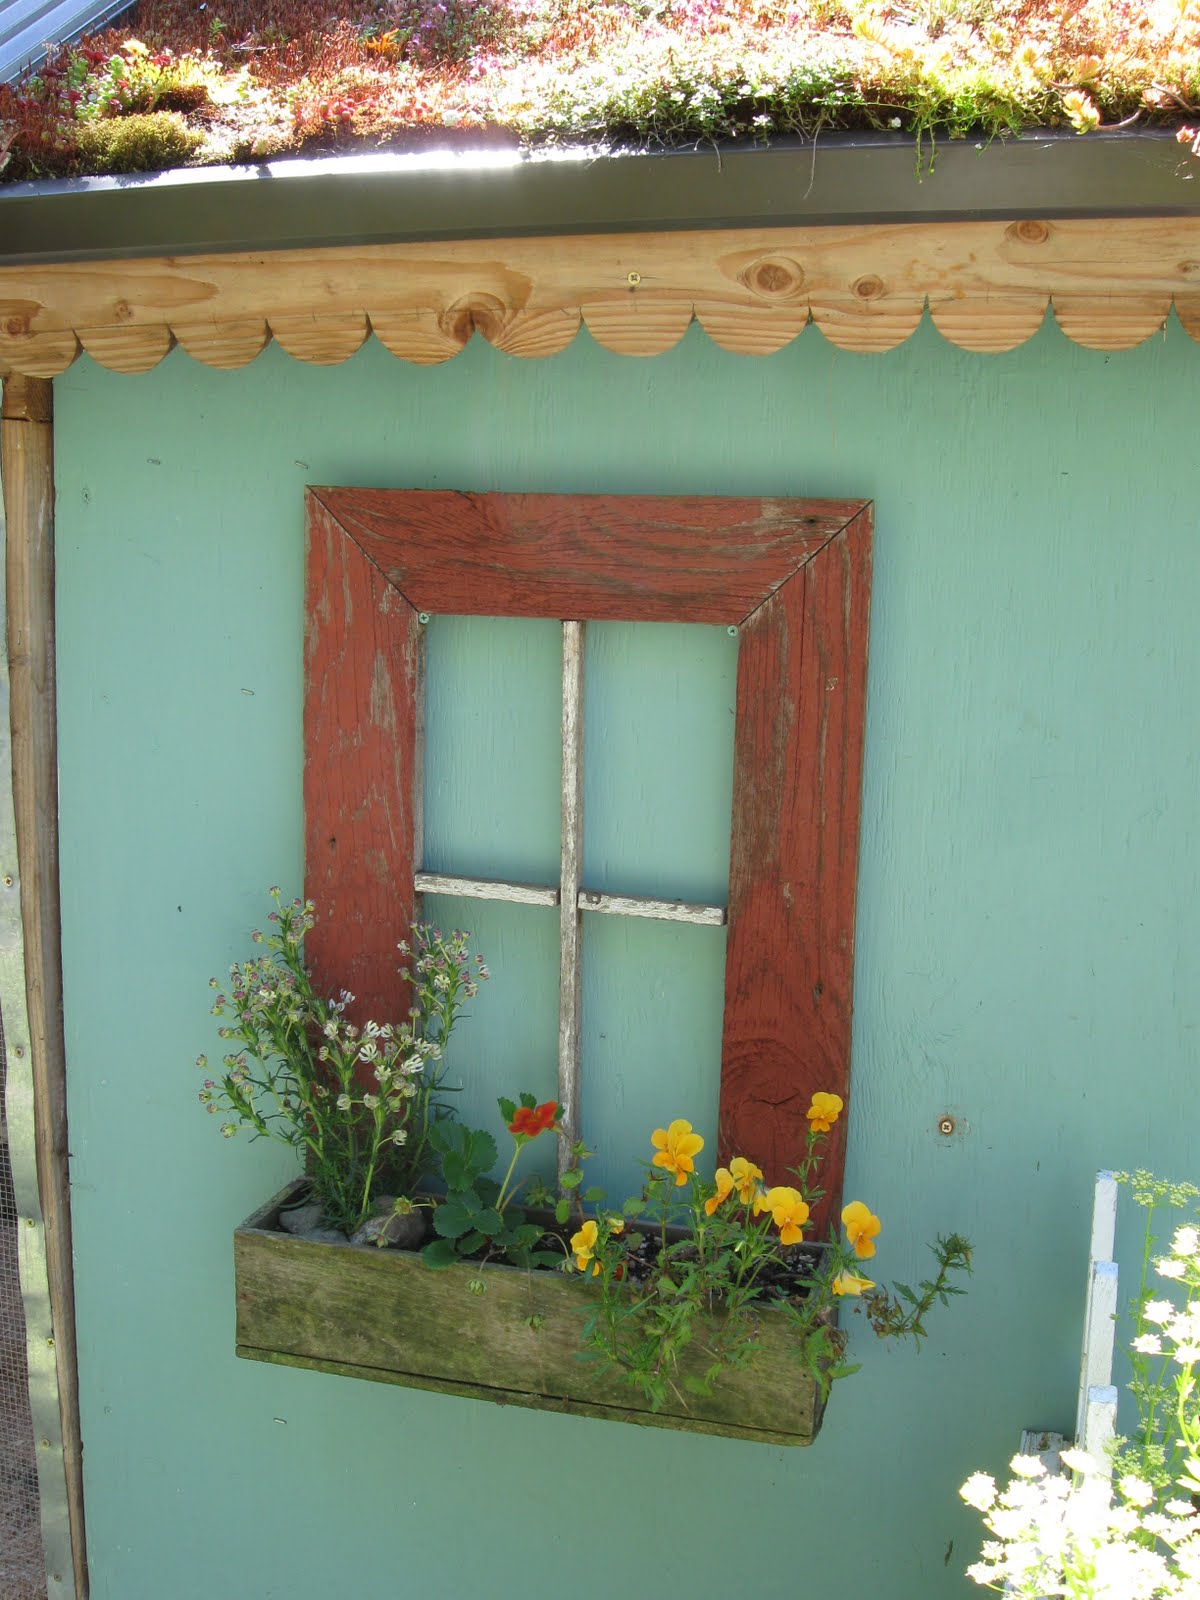 Loved the decorating details!
 Cottage garden details...
 Creative gate idea...
 A Buff Orpington wanders through a garden.
 La Mancha goats in a city backyard, which is legal - but after visiting 3 homes with goats on the tour, I'm now wondering whether this is really a good idea... I understand why people are keeping them, but is it really a "good neighbor" thing to do?
 Wonderful outdoor "kitchen" space
 Loved this fence idea (with the pipe) ~ would keep the neighbor children's balls out of our yard and make a stronger fence (that, hopefully, their balls would not damage), but is it too contemporary for me?
 Like the old band saw on this coop
 Creative with their garden space in Seattle ~ beehives on the roof of their house...
 One of my favorite urban farms on the tour: City Art Farm
 Hollyhocks and artichokes ~ garden beauty!
 Cord wood construction for their predator proof chicken coop = interesting!
 Loved how they incorporated glass bottles for perches in their design. Very funky!


